the weather outside is frightful

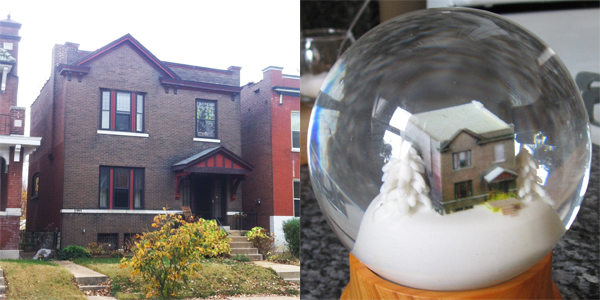
this year for christmas i gave my wife a special present: a snowglobe with a tiny copy of our home inside.
she loves it. i love it. everyone loves it. so here’s how you can make one for yourself:
1) order a custom snowglobe kit. ebay has a bunch to choose from. try to find one that tells you its exact dimensions so you can size your model before the globe arrives in the mail.

2) take pictures of your house. you probably want at least eight circling the perimeter. more can’t hurt.
i also grabbed a top-down view of my house from google’s satellite maps. it’s very low-res, but the house is going to be tiny, so it works out.
3) build a cg model of your house.
i tried a handful of the “automatic” systems to build models. microsoft’s photosynth, autodesk’s 123D catch, a couple lesser known programs. none of them worked well enough to produce a final model – they did well for 75% of the model, but then horribly mutilated the last 25%.
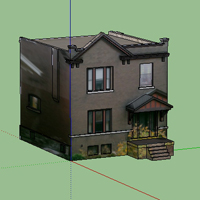
in the end i went with google’s sketchup – its photo match tools are great for building models from photos of buildings.
see: http://www.youtube.com/watch?v=fSuDoX8SPtU

4) unfortunately, the 3d printing places won’t accept output from sketchup (for color), so we need to convert. save your model out as a DAE file and then read it back in to maya. duplicate your model and layout new UV coordinates on the copy. bake the textures to a single new image with the transfer maps tool.

5) now that the textures are all in one image, you can use photoshop or maya to repaint them and fix any inconsistencies.
6) build a rough 3D model of the snow globe itself. make sure to add refraction to the globe (1.33 for water) and render. this will let you experiment with sizes for your model – and will also tell you how the model will look with water around it – the magnifying effect of the curved surface made my models look 40% bigger.

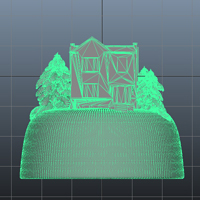
7) build a snowy hill for your house to sit on – size it so that your house sits at the center of the globe. also be sure that the bottom of the hill fits on the rubber plug used to seal the globe. render the image to get the shape right – my hill is absurdly steep – but looks good with refraction. at this point i realized our house looked lonely on the hill – so i added some fictional snowy trees on each side.

8) export from maya as an OBJ file.
9) import into meshlab and re-export as an X3D file. (remember to select only one source for texcoords and colors.)
10) you’re now ready to print. zip up the X3D and image file and upload to your favorite printer. my favorite printer is shapeways. they’ve very VERY good. and nice as well.
11) when you’re model arrives (in two to three weeks) make sure to coat it with a waterproof sealant, otherwise the colors will immediately wash away. polyurethane seems a good choice, but i’ve had to apply it pretty thick (six spray coatings, four dipped.) better safe than sorry.
12) if you’re using water – make sure to include a drop of bleach (to kill any future algae) and a drop of detergent (to break surface tension and make the snow float better.)
good luck.
[EDIT: my wife and i have started a business to make snowglobes. if you’d like us to make you a snowglobe, find us at itsasnowday.com.]
Filed under: 3d printing,globes - @ 2 January 2012 3:02 pm
One thought on “the weather outside is frightful”